Shower Height Setup Mistakes to Skip
Shower height sets comfort, coverage, and control in one move. A good layout places water where the body stands, keeps hands on the controls without awkward reach, and leaves room for maintenance. The notes below map the mistakes that quietly spoil daily use and the practices that deliver a calmer, more capable space across homes and hotels in Africa.
Start from the Finished Floor
Mark-offs taken from the structural slab drift once screed and tile go in. Heights set from finished floor level keep headroom, reach and splash lines consistent. A small discrepancy changes the spray arc, door clearances, and bracket fitment, so finished-floor measurements lock accuracy early.
Fix the Standing Zone First
The standing centre decides where water lands. Establish enclosure size, door type, bench position, and drain line, then set the outlet to centre over that zone. Spray landing inside the wet area keeps puddles off the bathroom floor and improves heat retention.
Choose a Practical Height Band Then Refine
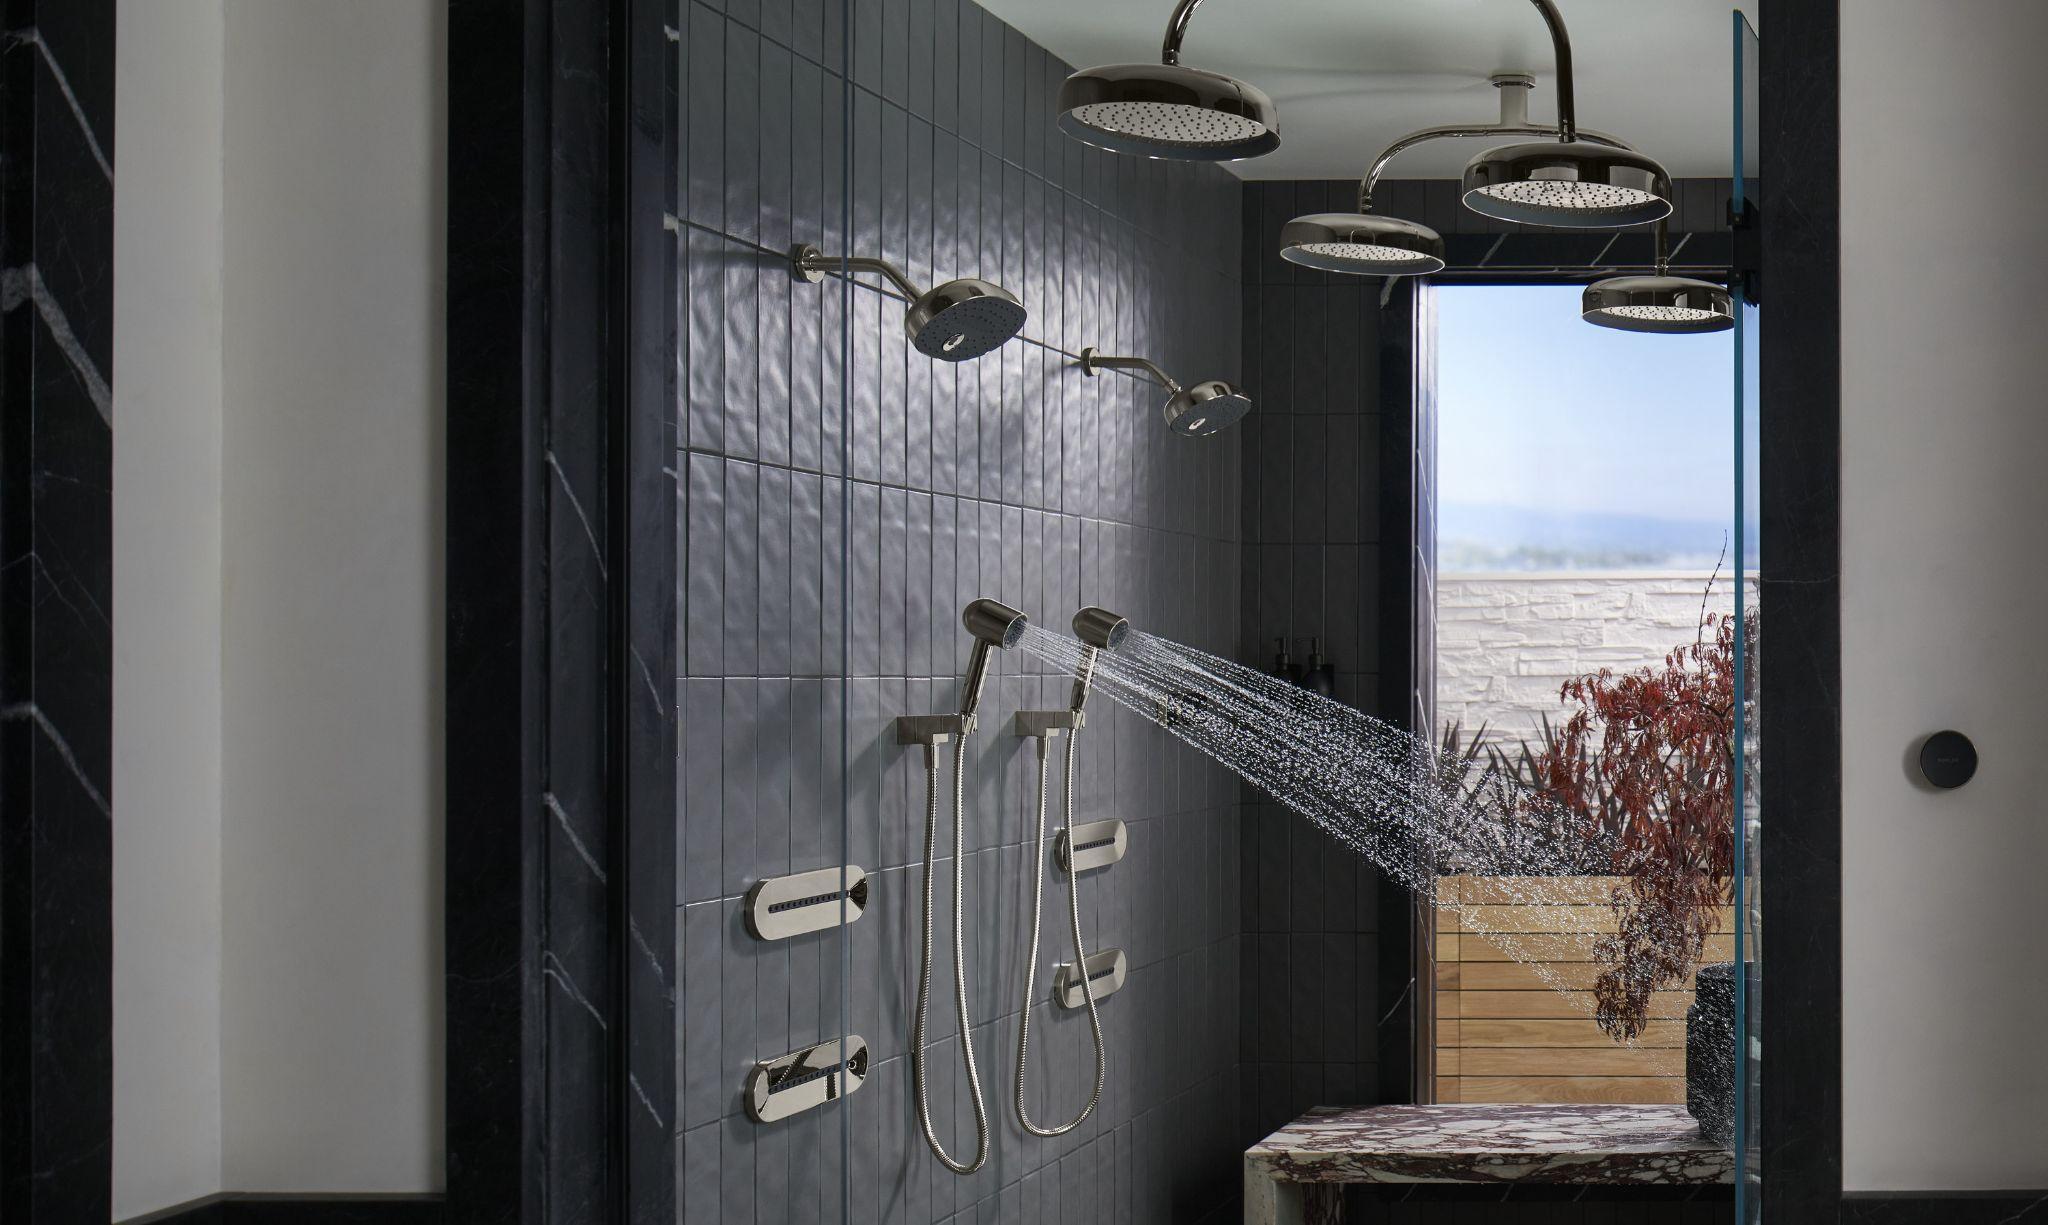
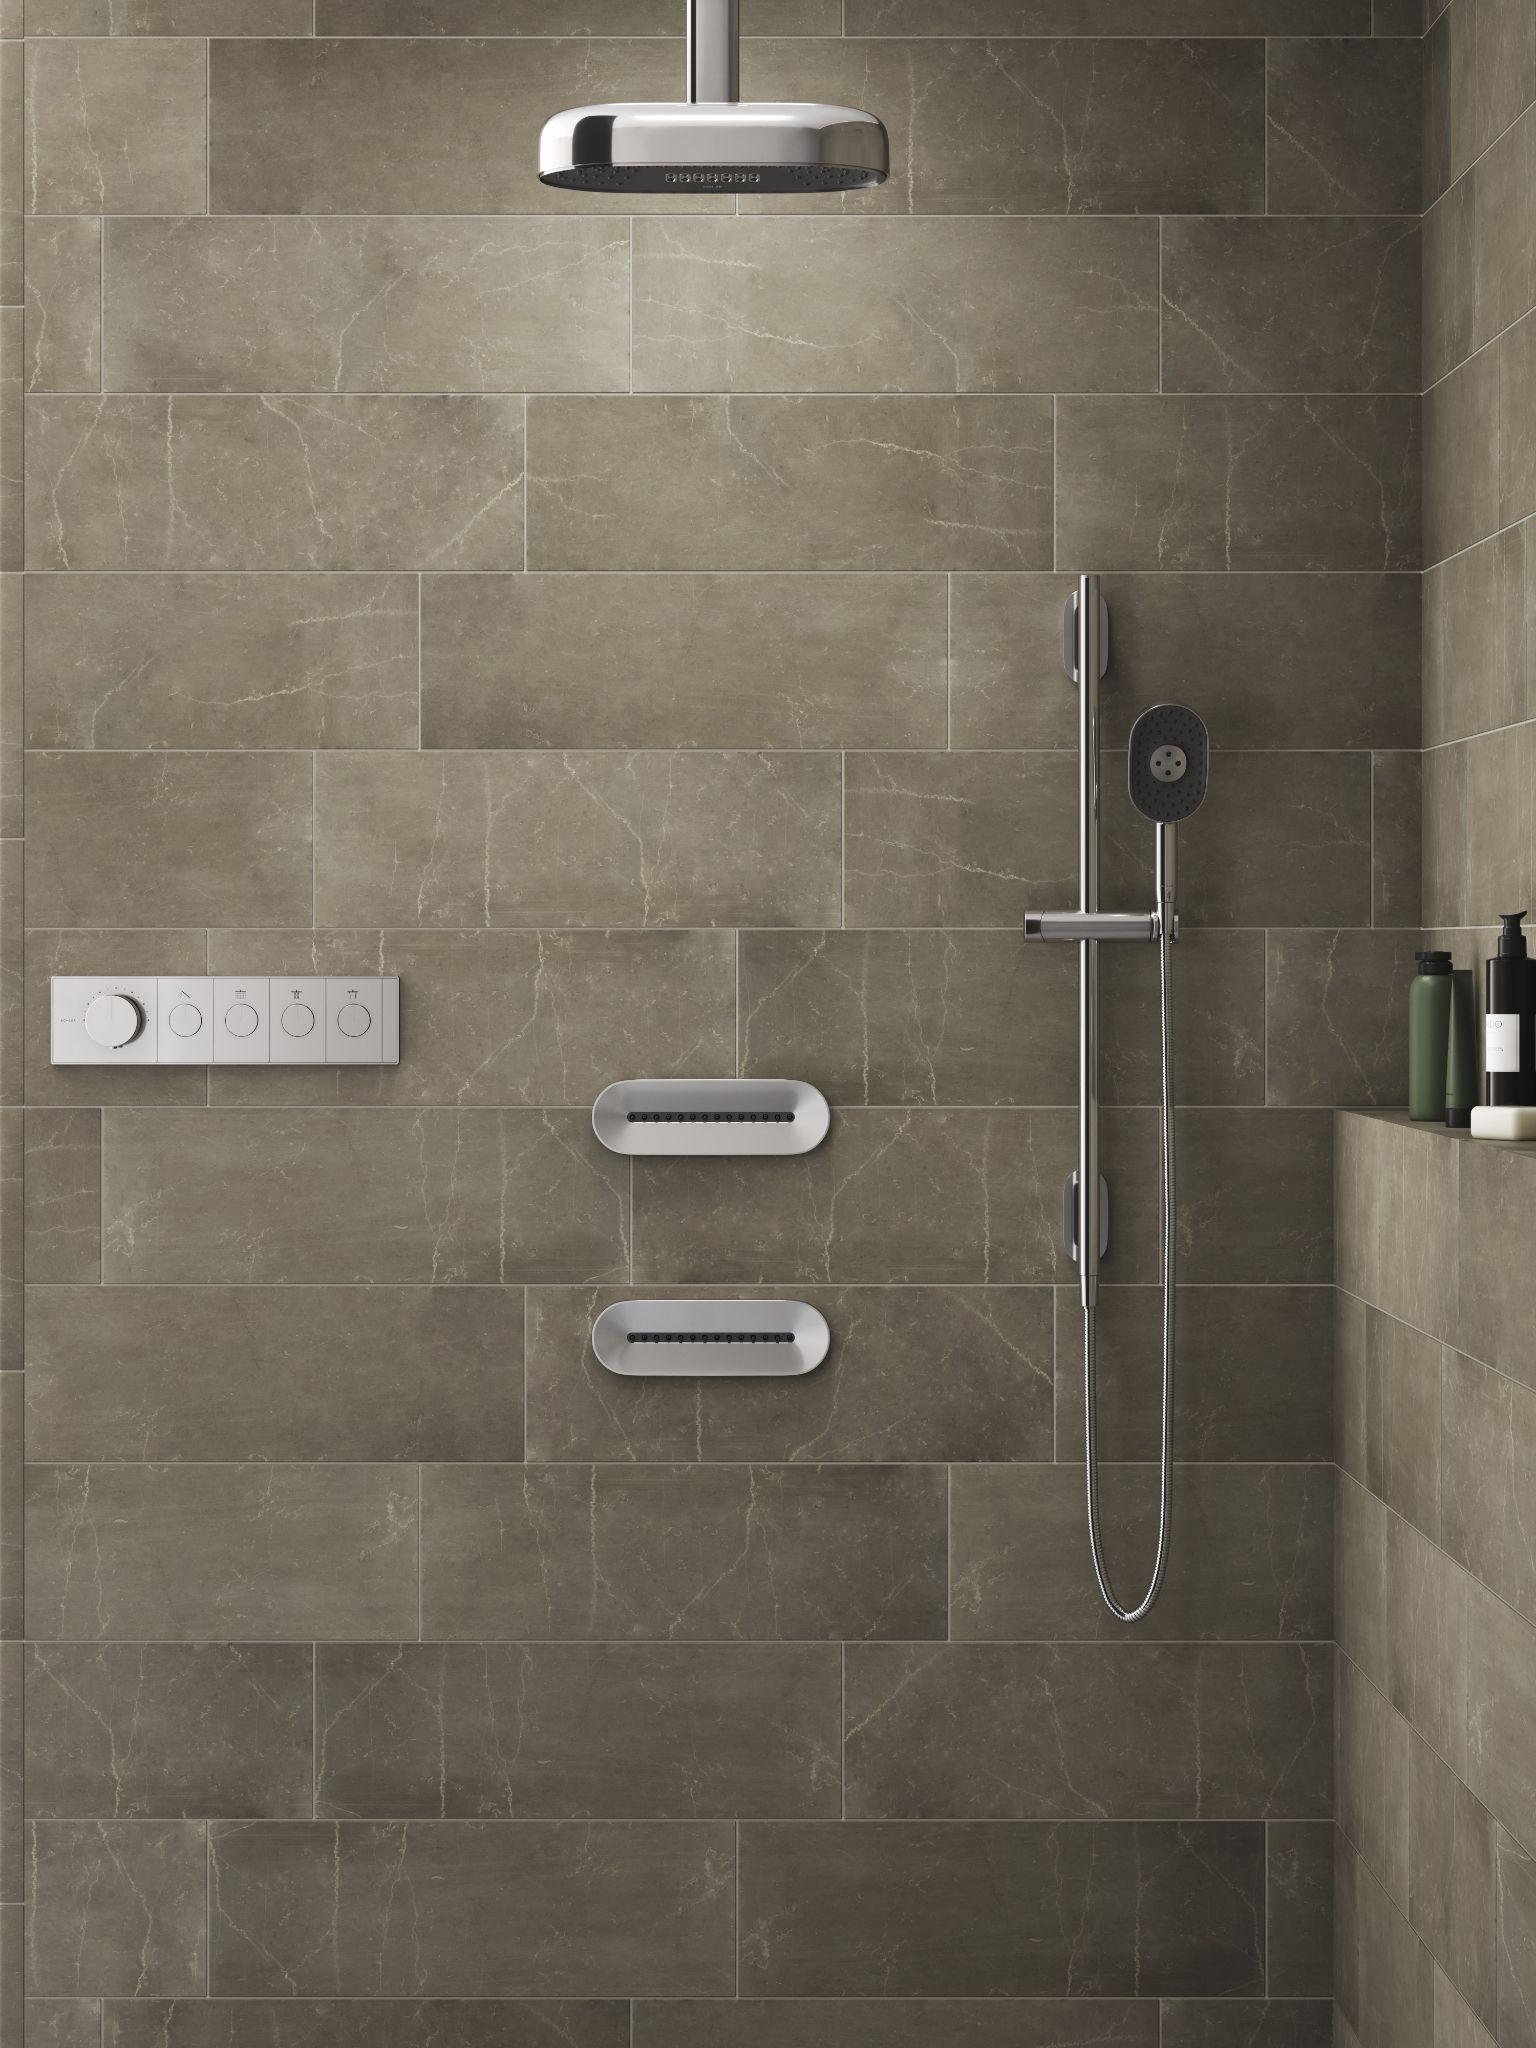
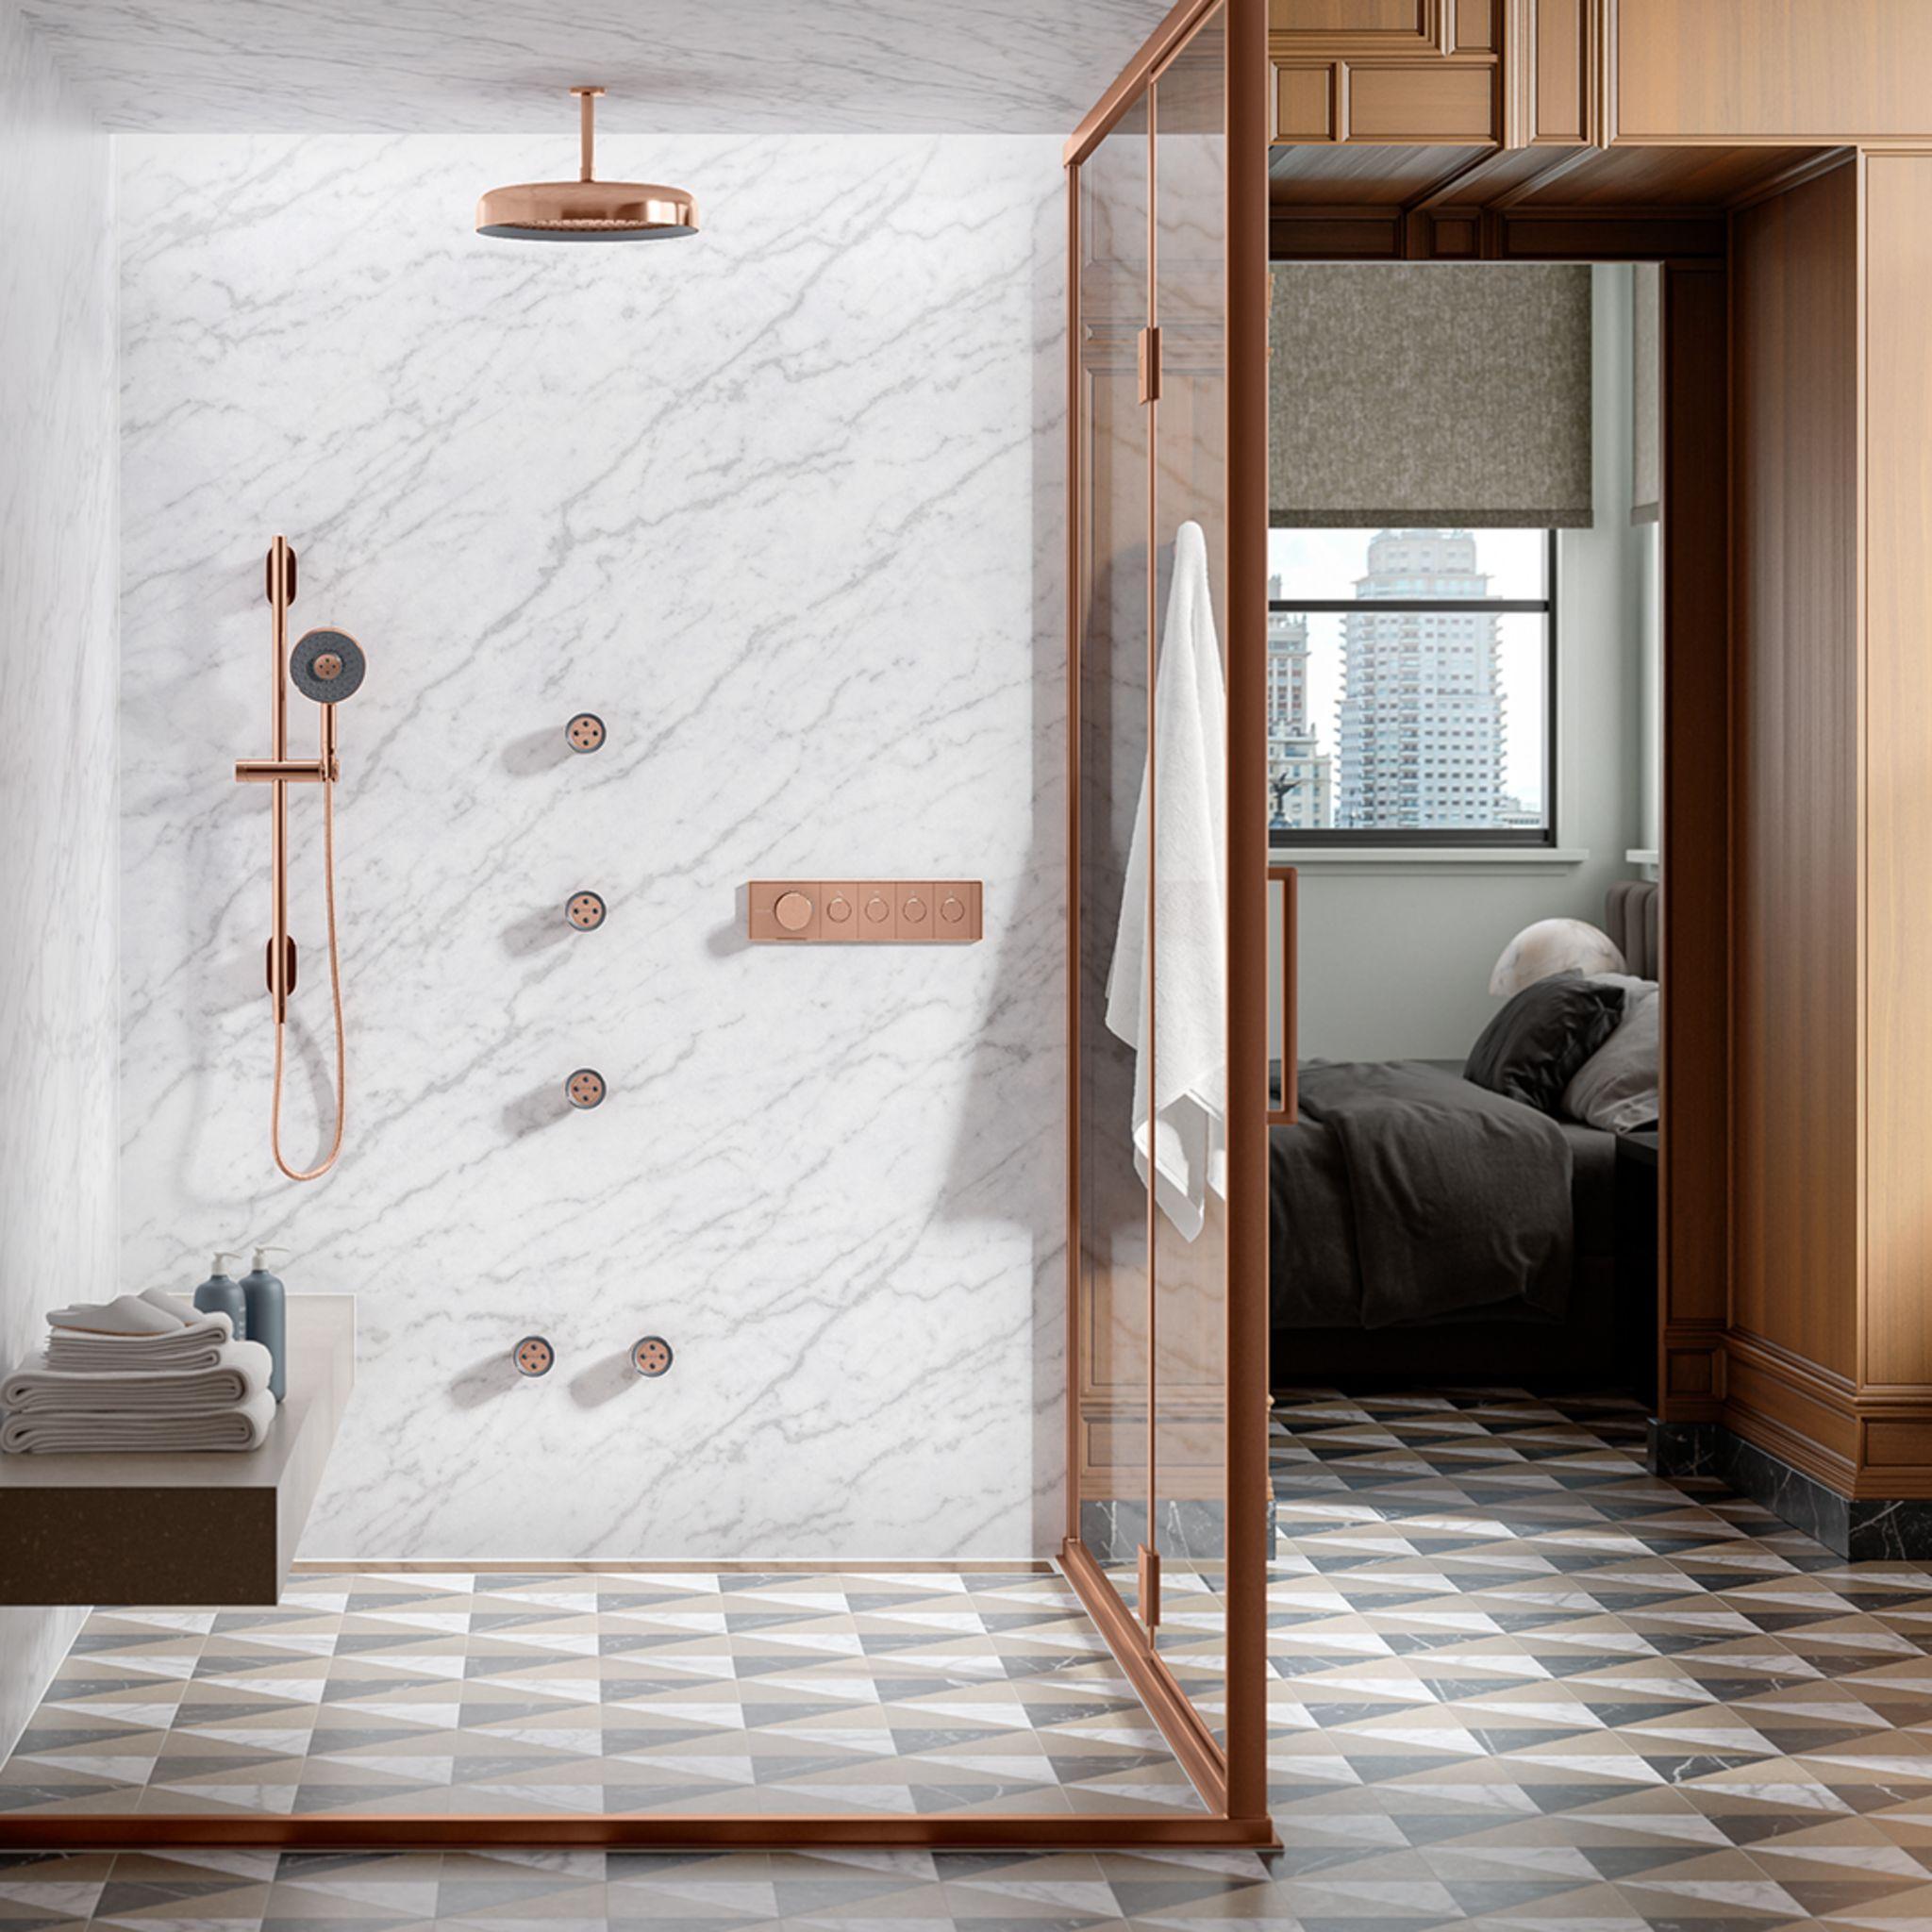
Most bodies feel comfortable under an overhead outlet in the 2000 to 2100 mm range from the finished floor. Taller households may favour the upper end; compact enclosures often favour the lower end. Hand shower rails add range for children and seated use. Once the band is chosen, confirm sightlines and arm length with a simple on-site check. This locks shower head height within a sensible envelope and avoids late corrections.
Allow Headroom for Broad Plates
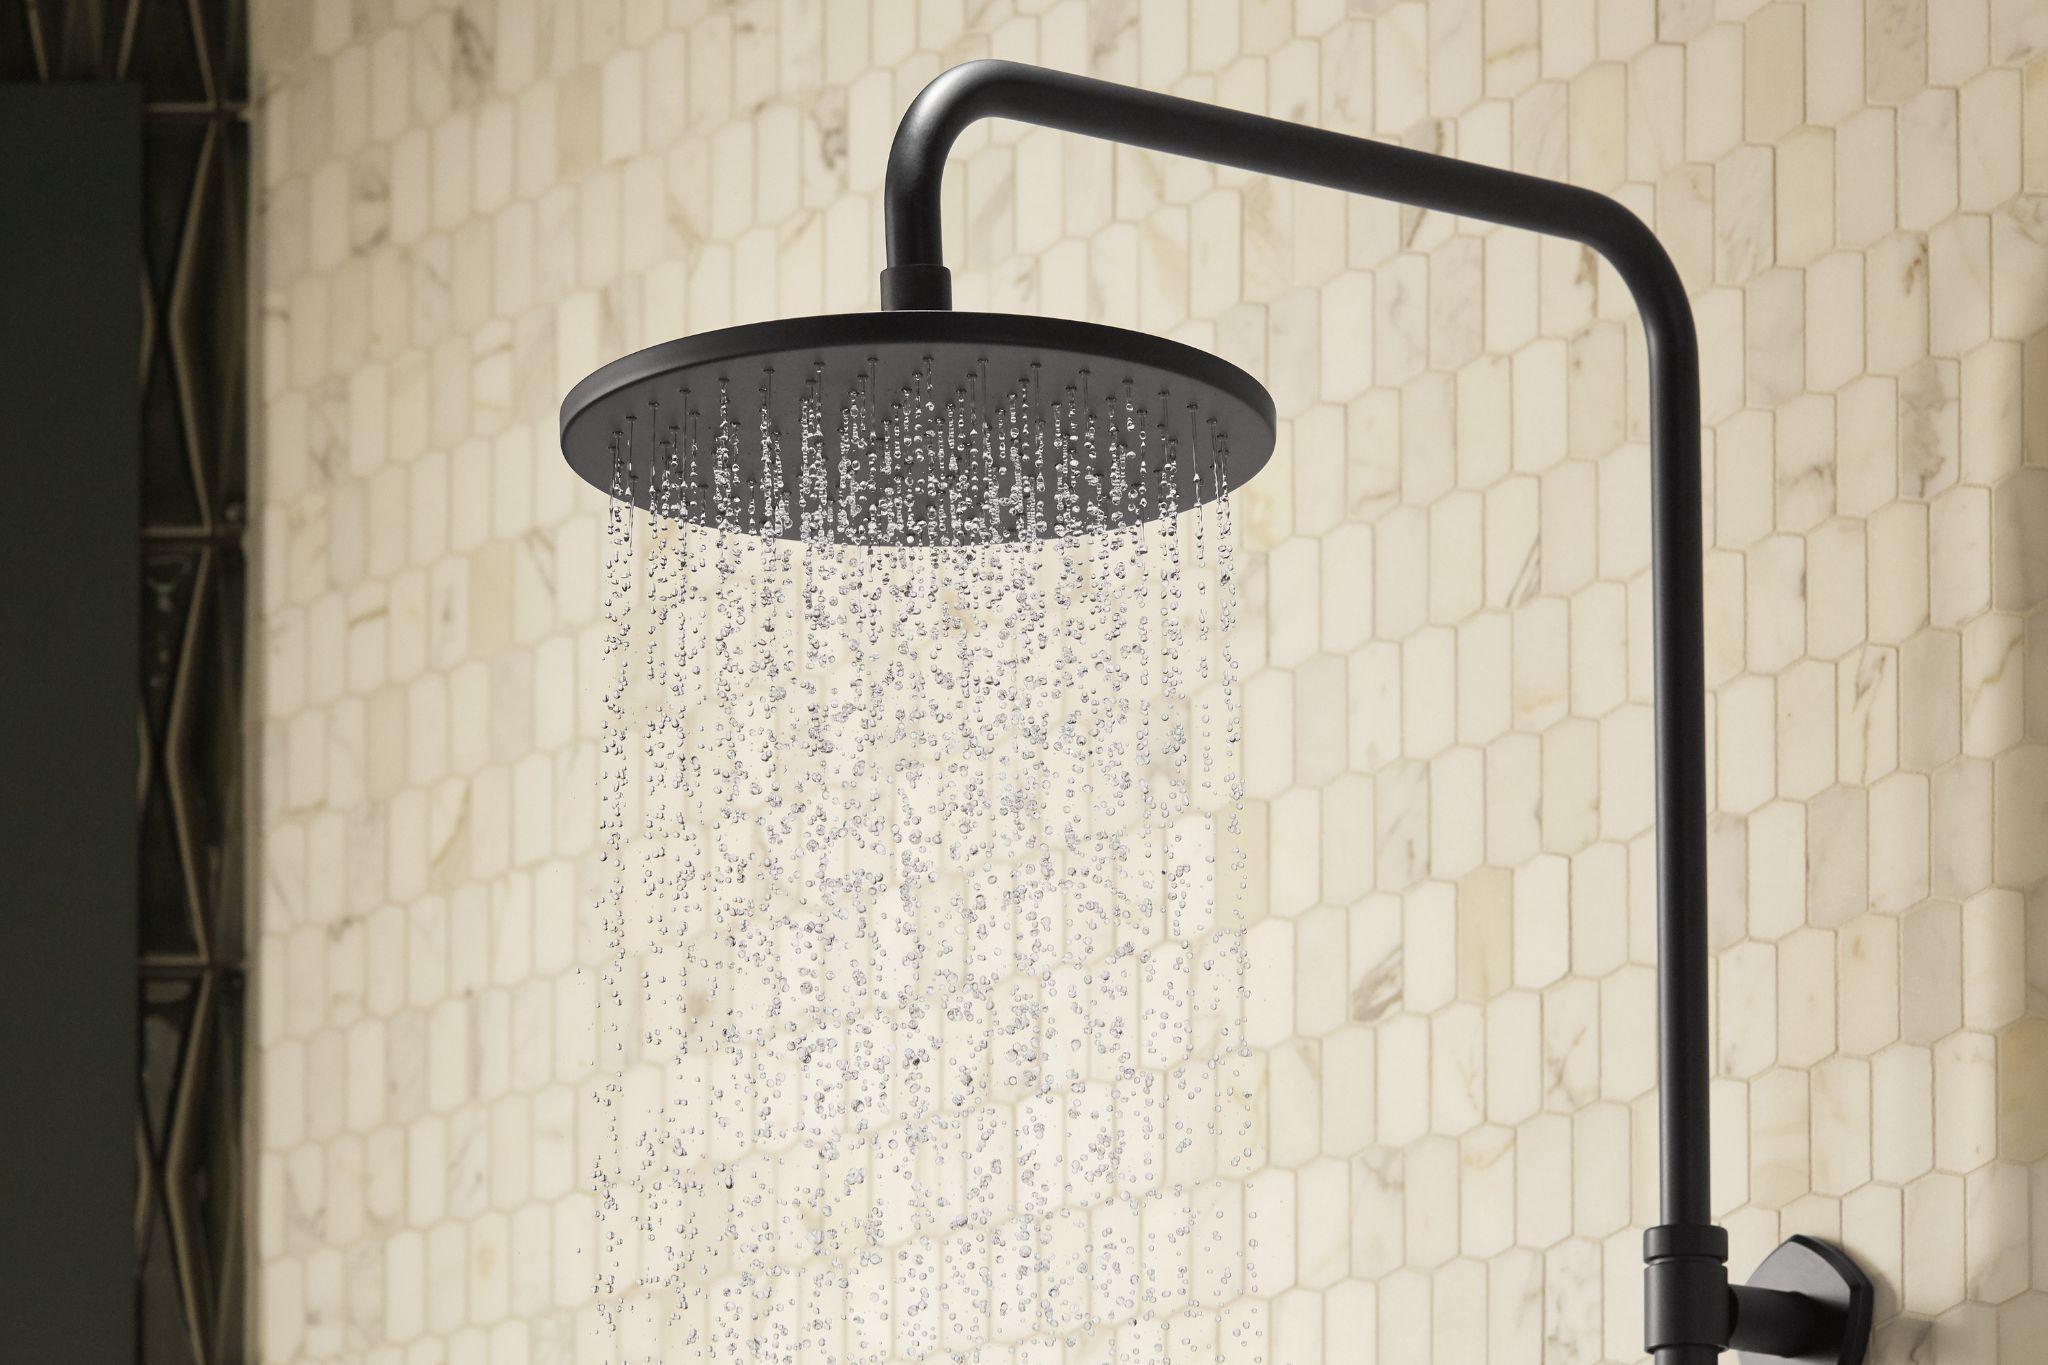
Large plates need air space for the water plume. A rain shower head gains better coverage with a short ceiling drop or an appropriate wall arm, placed so the face sits well below the ceiling and free of downlights or beams. Clear space also simplifies wiping and scale removal.
Put Control Within Easy Reach
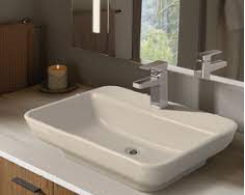
Control reach matters as much as outlet reach. A comfortable shower valve height sits around 1000 to 1150 mm to the center line from the finished floor, positioned just inside the entry line yet out of the main spray. Clear visibility from the door removes guesswork at switch-on. For stable temperature and smooth travel, a Kohler shower valve pairs accurate control with robust internals and serviceable cartridges.
Match Arm Length to the Enclosure
A short wall arm keeps water too close to the wall. An overlong arm projects spray beyond the ideal centre. Pick an arm that centres the outlet over the standing spot and keeps the plume away from door gaps and vanity edges. A quick tape-and-broom mock-up confirms drop and reach in minutes.
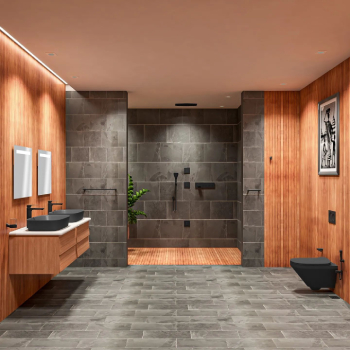
Let Glass and Doors Lead the Detailing
Hinged doors need swing clearance free of rails and heads. Sliding systems need gap space near the top track for cleaning. Check pull handles, pivots and seals against the chosen hardware list. This avoids pinch points and keeps airflow smooth after a hot shower.
Add Storage at a Natural Reach
Bottles at floor level create bending and slipping risks. A wall niche between about 1050 and 1200 mm keeps shampoo and soap within easy grasp. Place the niche away from the main spray for cleaner grout lines and calmer wiping.
Test at Full Scale before Drilling
A taped outline on the wall and floor answers most disputes. Mark the standing centre, the outlet centre line and the control centreline, then step into the space. A broom handle at the proposed height shows headroom and plume position. Small moves now prevent costly chasing later.
Consider Water Quality and Climate
Hard water feeds scale on plates and tiles, coastal air marks trims faster, and high-traffic homes need durable finishes. Day-to-day care improves when the face is reachable, the ceiling gap is generous, and the outlet does not crowd corners. Regional advice and product pairing through Kohler Africa help align finish, form, and service access with local conditions.
Keep Service in the Design
Filters, flow limiters and thermostatic cores require periodic attention. Leave hand clearance behind trims, plan a removable ceiling panel for overhead drops, and record actual centres and heights on the as-built plan. Service-friendly layout extends product life and reduces downtime.
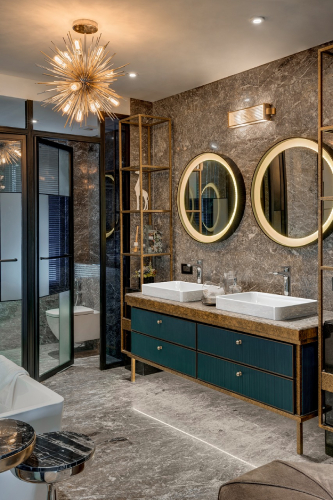
Align Height with Visual Intent
Height choices support the story the room tells. Symmetrical lines suit plate-centred bathroom shower designs. Slim profiles and clean planes suit bathroom shower modern schemes. Asymmetry and offset rails support modern bathroom shower designs that favour movement and contrast. During refits and new bathroom showers, finalise heights at rough-in and protect stub-outs through tiling to preserve accuracy.
A Quick Handover Checklist
- Outlet and control centres verified from finished floor
- Spray landing checked inside the wet zone
- Door swing, rail travel and niche position confirmed
- Actual heights recorded on the plan for future swaps
The Height That Keeps Working
Well-judged shower height feels effortless every day. Start from the finished floor, set the standing zone, keep the controls close to hand, and give the head room to breathe. With those steps in order, the space supports comfort, cleaning, and future upgrades with minimal fuss.
Visit to discover and explore more!
Kohler products are now available across all major countries of East and West Africa, including Ethiopia, Kenya, Tanzania, Mauritius, Madagascar, Nigeria, and Ghana. contact.africa@kohler.com or https://www.africa.kohler.com/contact-us
Frequently Asked Questions
What is the correct height for shower controls?
A centreline around 1000 to 1150 mm from the finished floor provides a comfortable reach for most users and keeps the trim clear of the main spray. Position near the entry line for quick temperature setting.
How to adjust shower height?
A rail kit widens the usable range for a hand shower. For fixed outlets, select a wall arm or ceiling drop that brings the face to the chosen level and centres the plume over the standing spot. Small trial adjustments during rough-in help lock the final position.
What is the best height for a shower?
A practical band for overhead outlets is 2000 to 2100 mm from finished floor, refined by enclosure size and expected user height range. Add a rail for flexible day-to-day use across ages and tasks.
What height to set a shower head?
Set the outlet so the spray lands in the middle of the standing zone, usually between 2000 and 2100 mm from the finished floor, with clear space below the ceiling for proper plume formation and easy cleaning.